The digital age has transformed many aspects of our daily lives, yet the fundamental need for organized note-taking and structured writing remains. For those who appreciate the classic aesthetic and practical utility of lined paper, the advent of a Ruled Paper Word Template offers a perfect blend of tradition and modernity. This digital solution allows users to easily replicate the look and feel of traditional ruled paper within Microsoft Word, providing a versatile tool for students, professionals, and creative individuals alike. Whether you're drafting an essay, jotting down meeting notes, or practicing calligraphy, having access to a pre-formatted ruled document can streamline your workflow and enhance readability.
The beauty of a ruled paper template lies in its simplicity and immediate utility. It eliminates the need for physical notebooks or special stationery when you want the structure of lines on your digital or printed documents. Instead of painstakingly creating lines in a blank document, which can be time-consuming and often result in uneven formatting, a template provides a ready-to-use solution that maintains consistency and professionalism. This convenience is particularly valuable in academic settings, for personal journaling, or whenever a structured writing surface is preferred.
Beyond mere aesthetics, the structure provided by ruled lines can significantly improve the legibility and organization of written content. It guides the writer to maintain consistent line spacing and uniform character height, which is beneficial for both handwritten notes (when printed) and typed text. For educational purposes, it can help younger students develop neater handwriting, while for professionals, it ensures that even hastily scribbled ideas maintain a semblance of order. The flexibility of these templates means they can be adapted to various line spacing requirements, from wide-ruled for young learners to college-ruled for extensive note-taking.

Utilizing a template also saves precious time. Instead of repeatedly setting up page layouts, margins, and line patterns for each new document, you can simply open a pre-designed template and start writing. This efficiency is a game-changer for anyone who frequently requires lined paper. It democratizes access to professional-looking stationery, making it available to anyone with a computer and Microsoft Word, without the need to purchase specialized pads or notebooks.
The versatility of a Ruled Paper Word Template extends to its customization potential. While basic templates offer standard line spacing, users can often adjust line thickness, color, and even add elements like headers, footers, or margin lines to suit specific project needs. This adaptability makes it an indispensable tool for a wide array of applications, transforming a simple digital document into a personalized writing canvas that perfectly aligns with individual or institutional requirements.
What is a Ruled Paper Word Template?
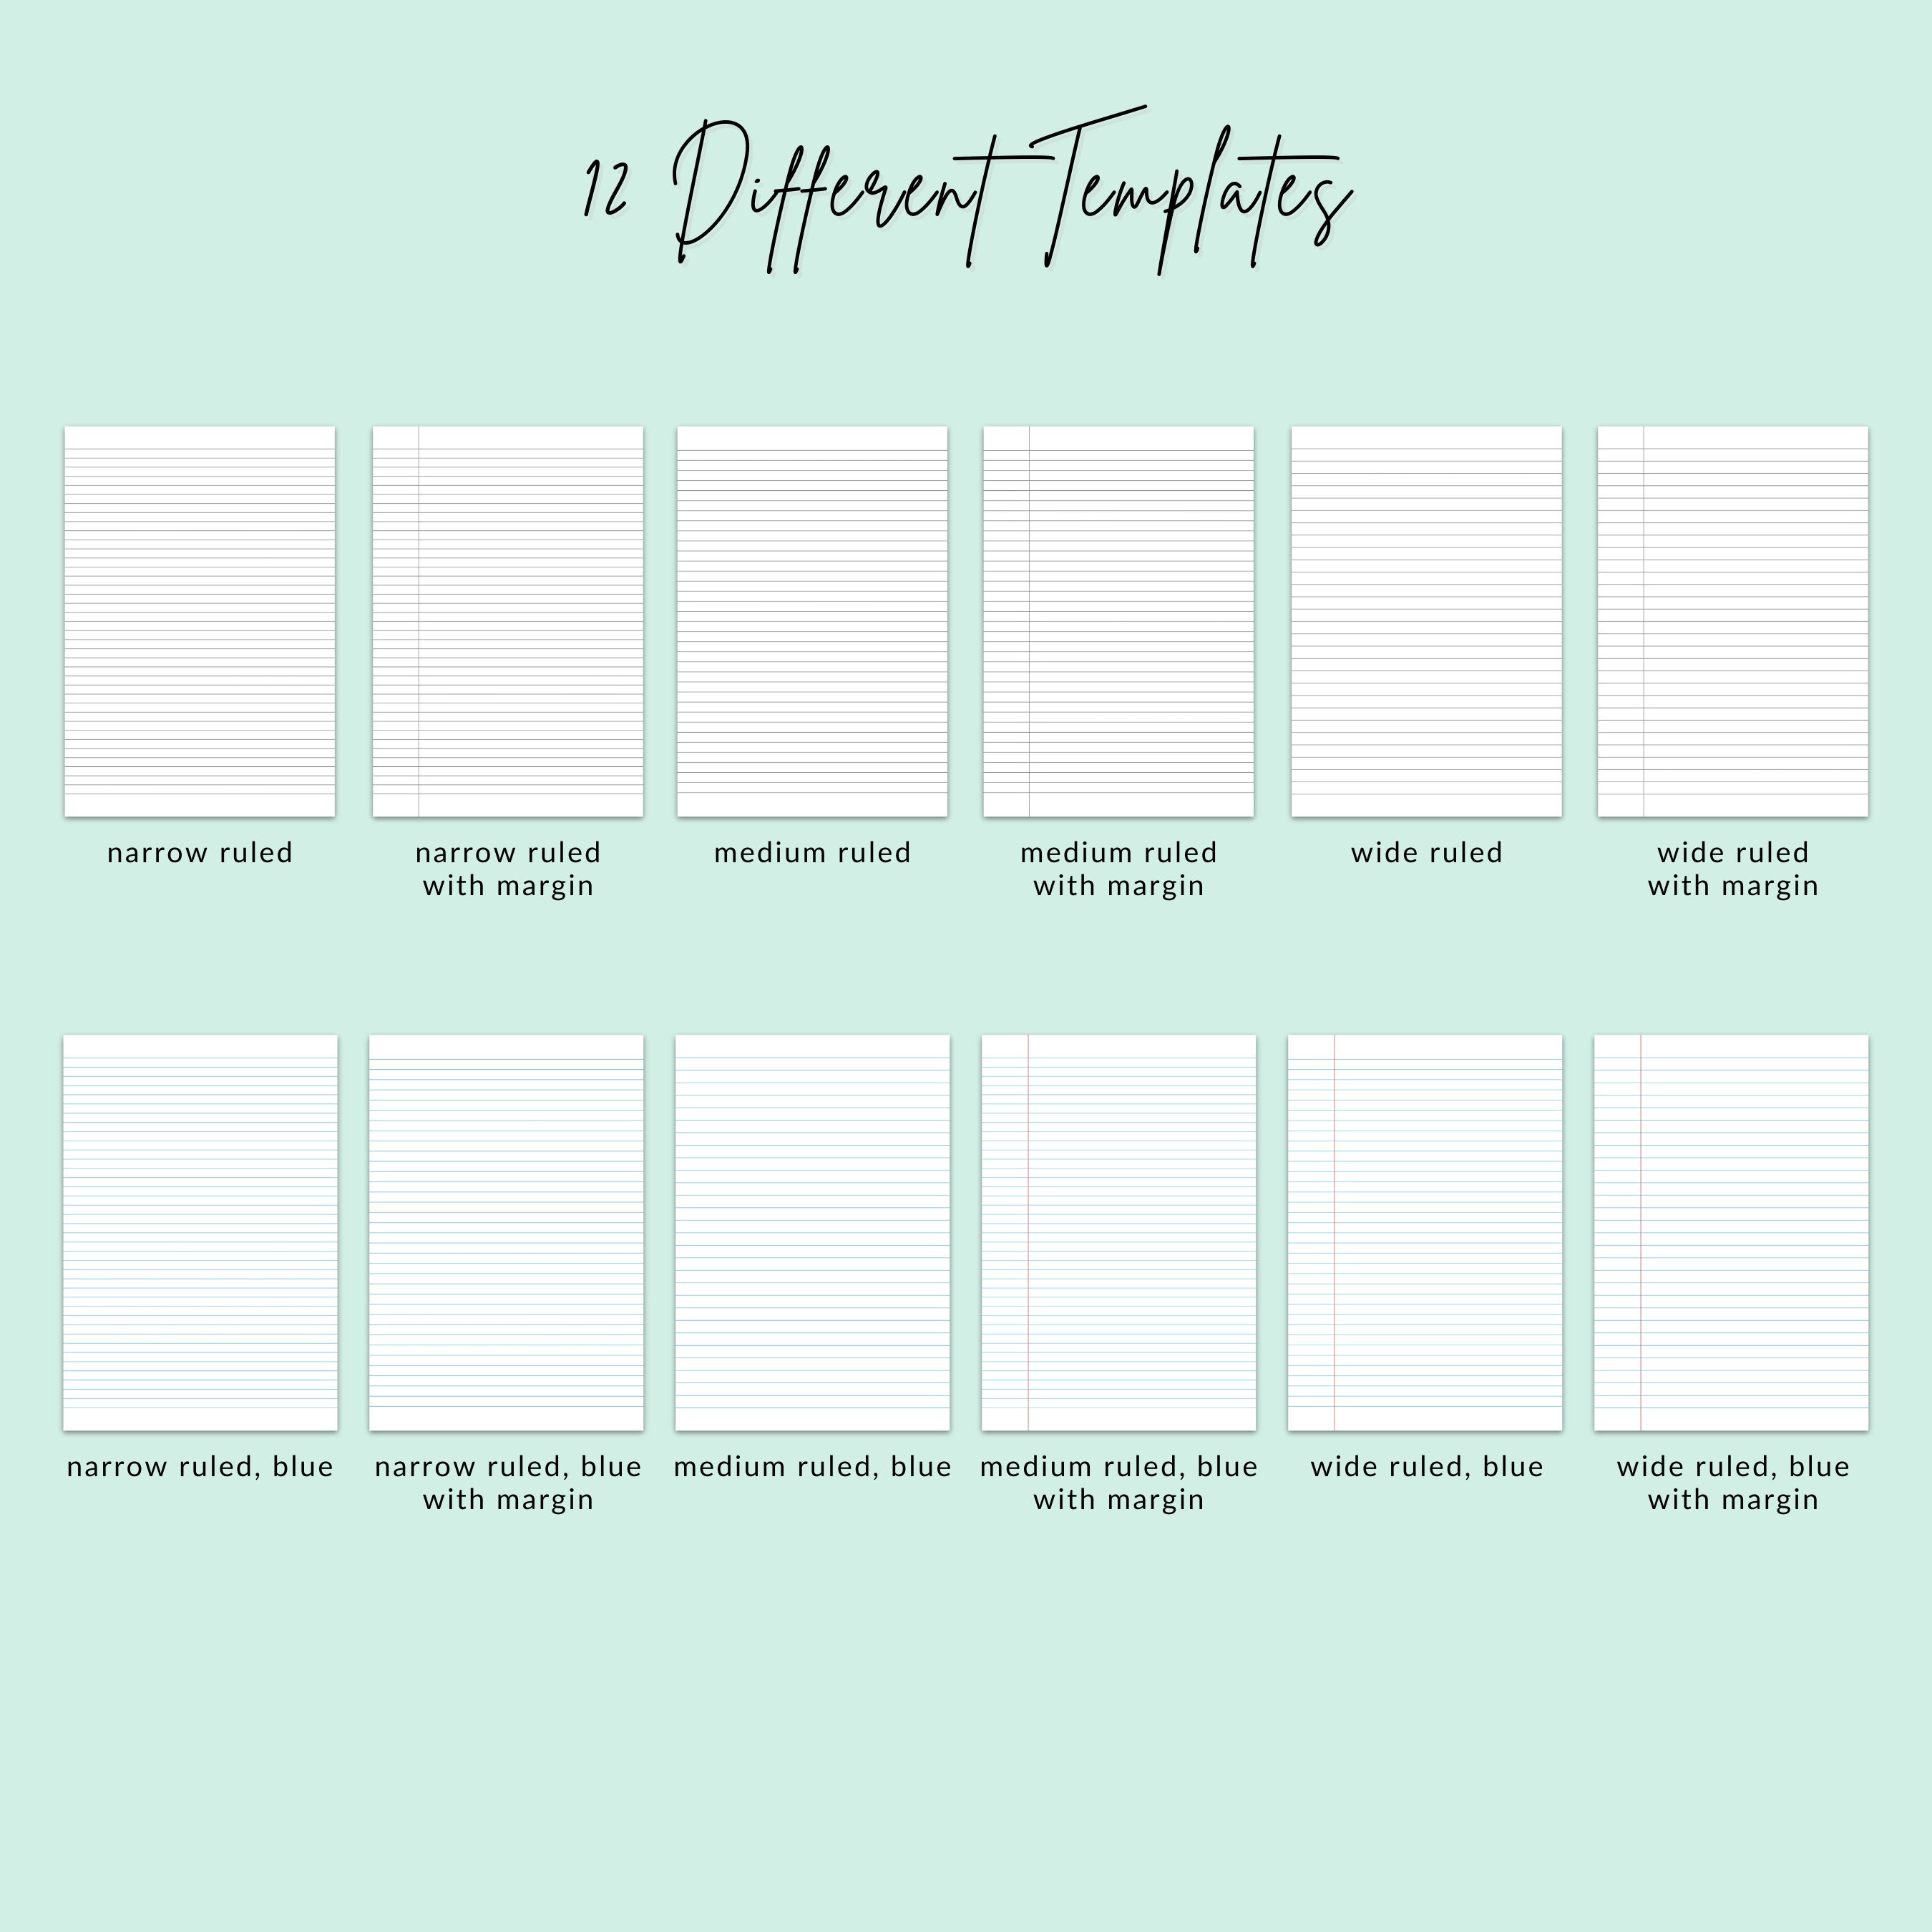
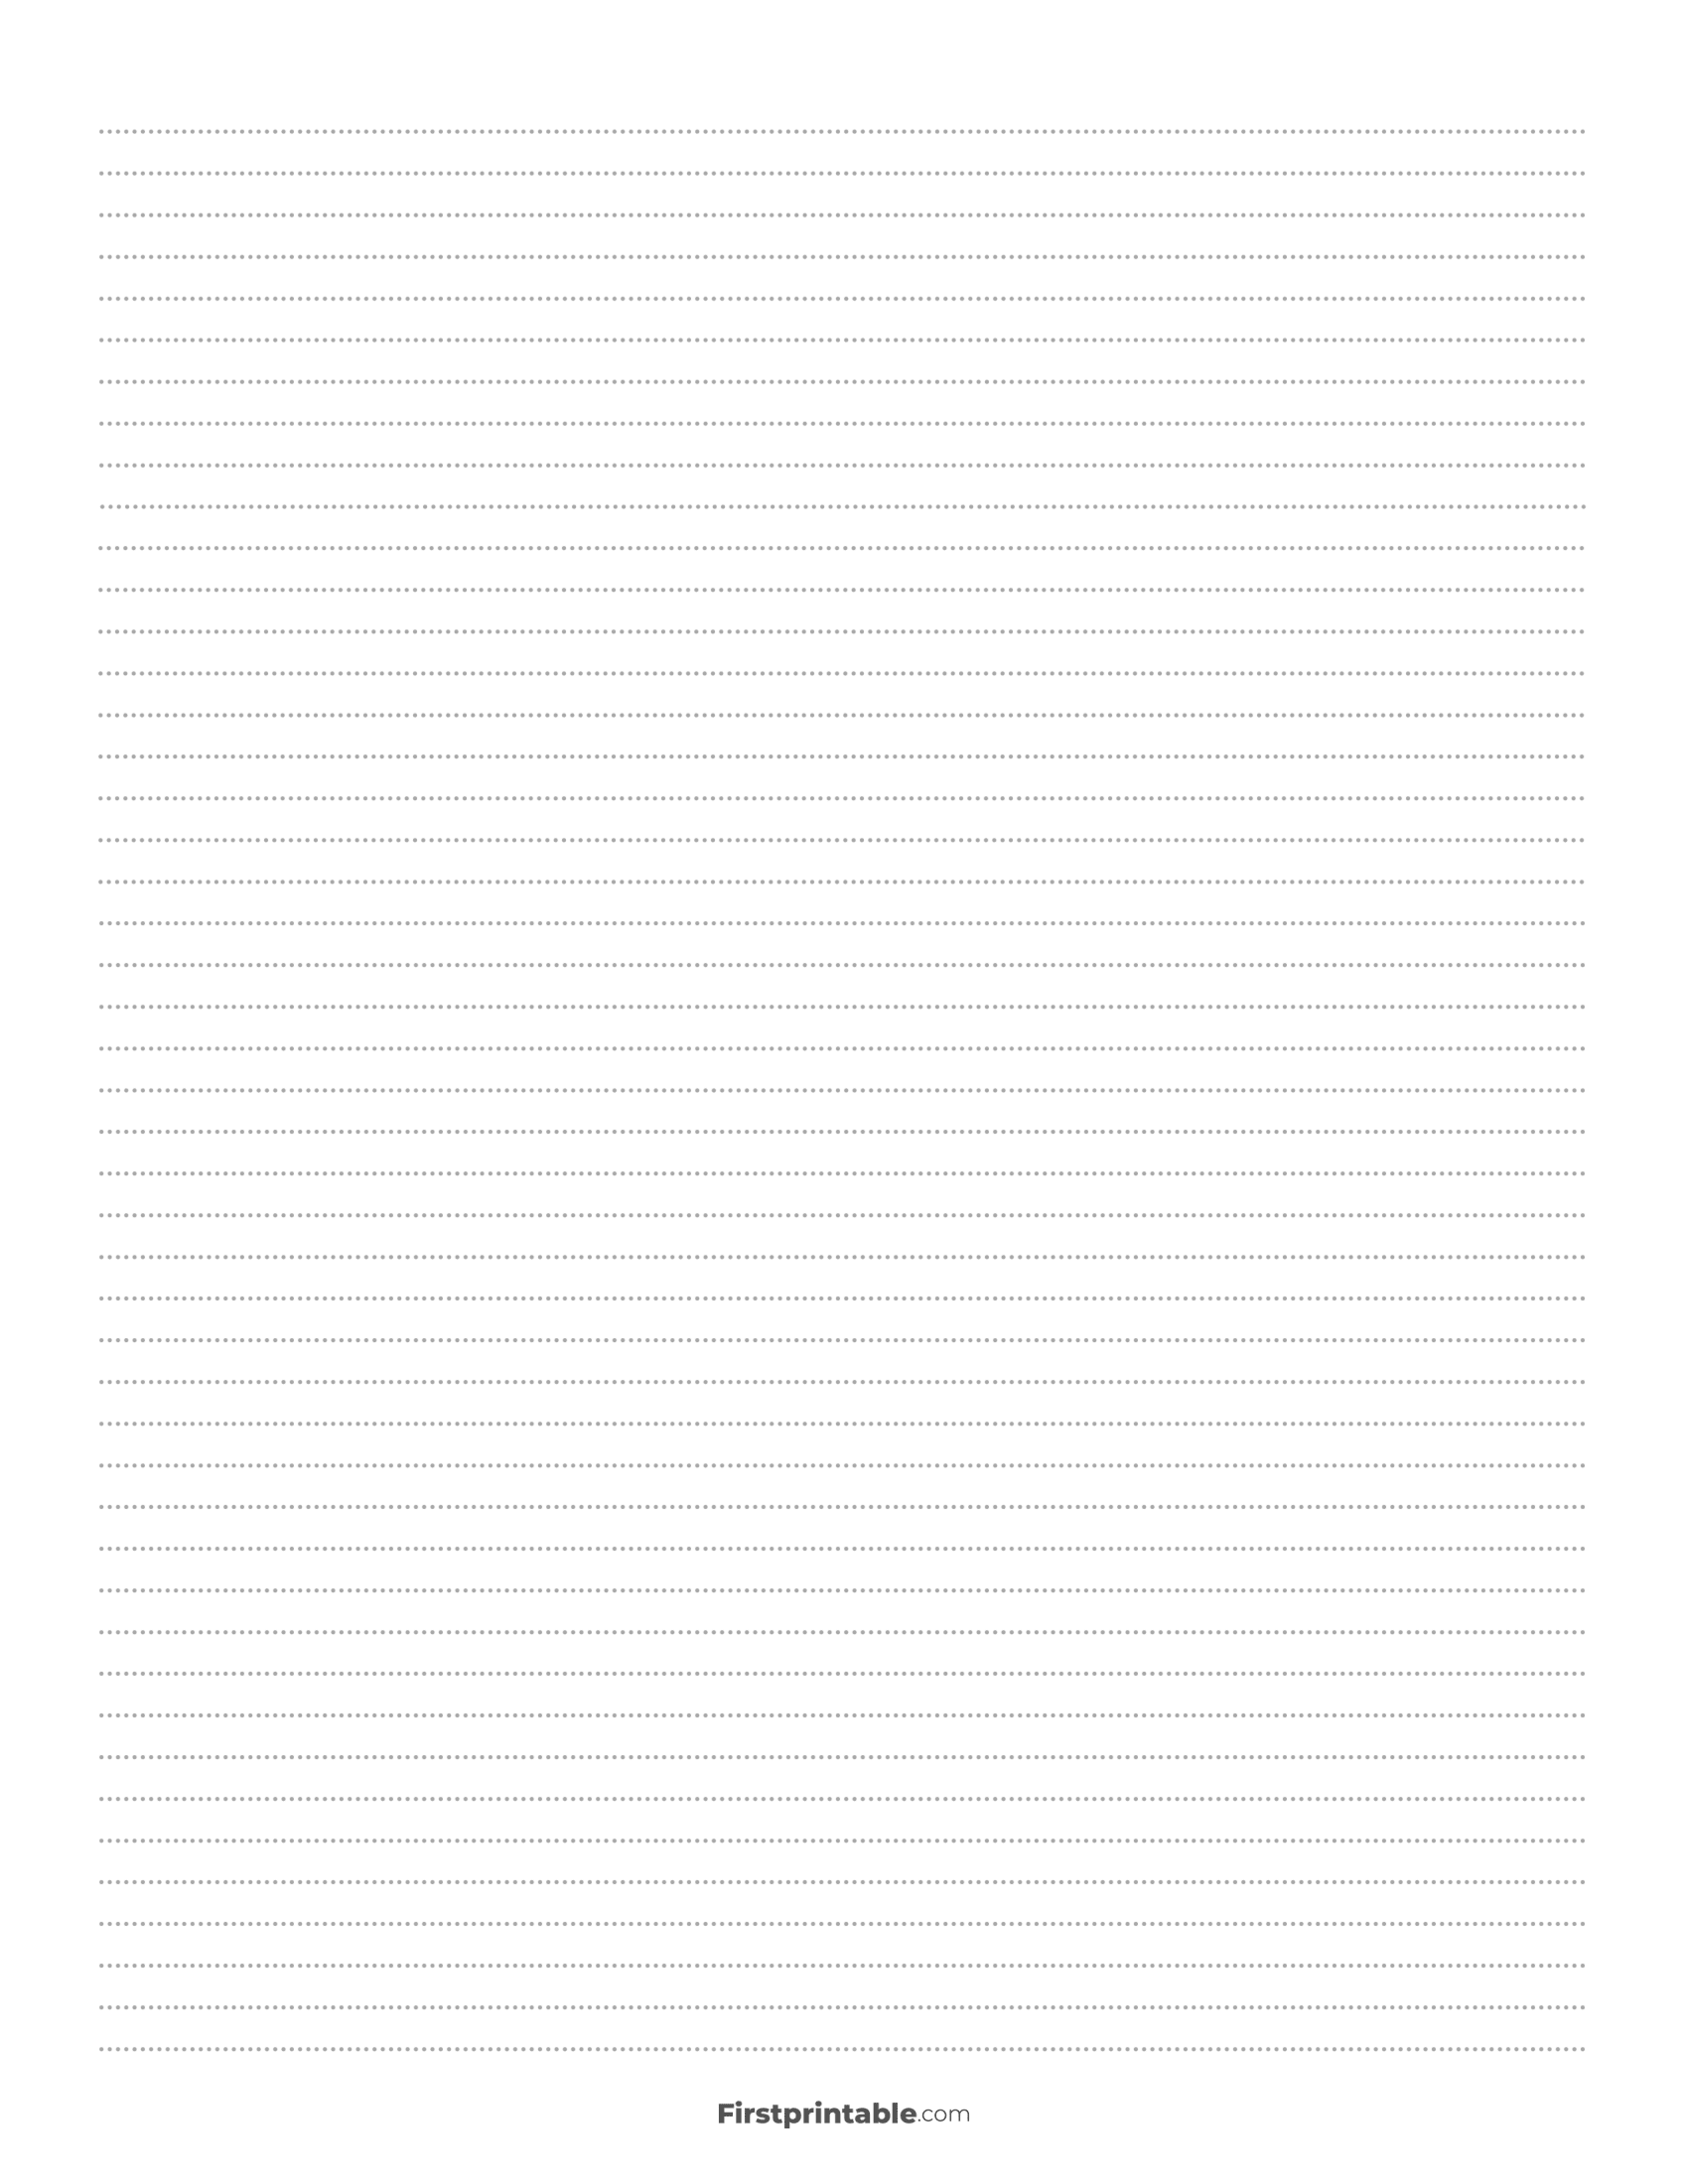
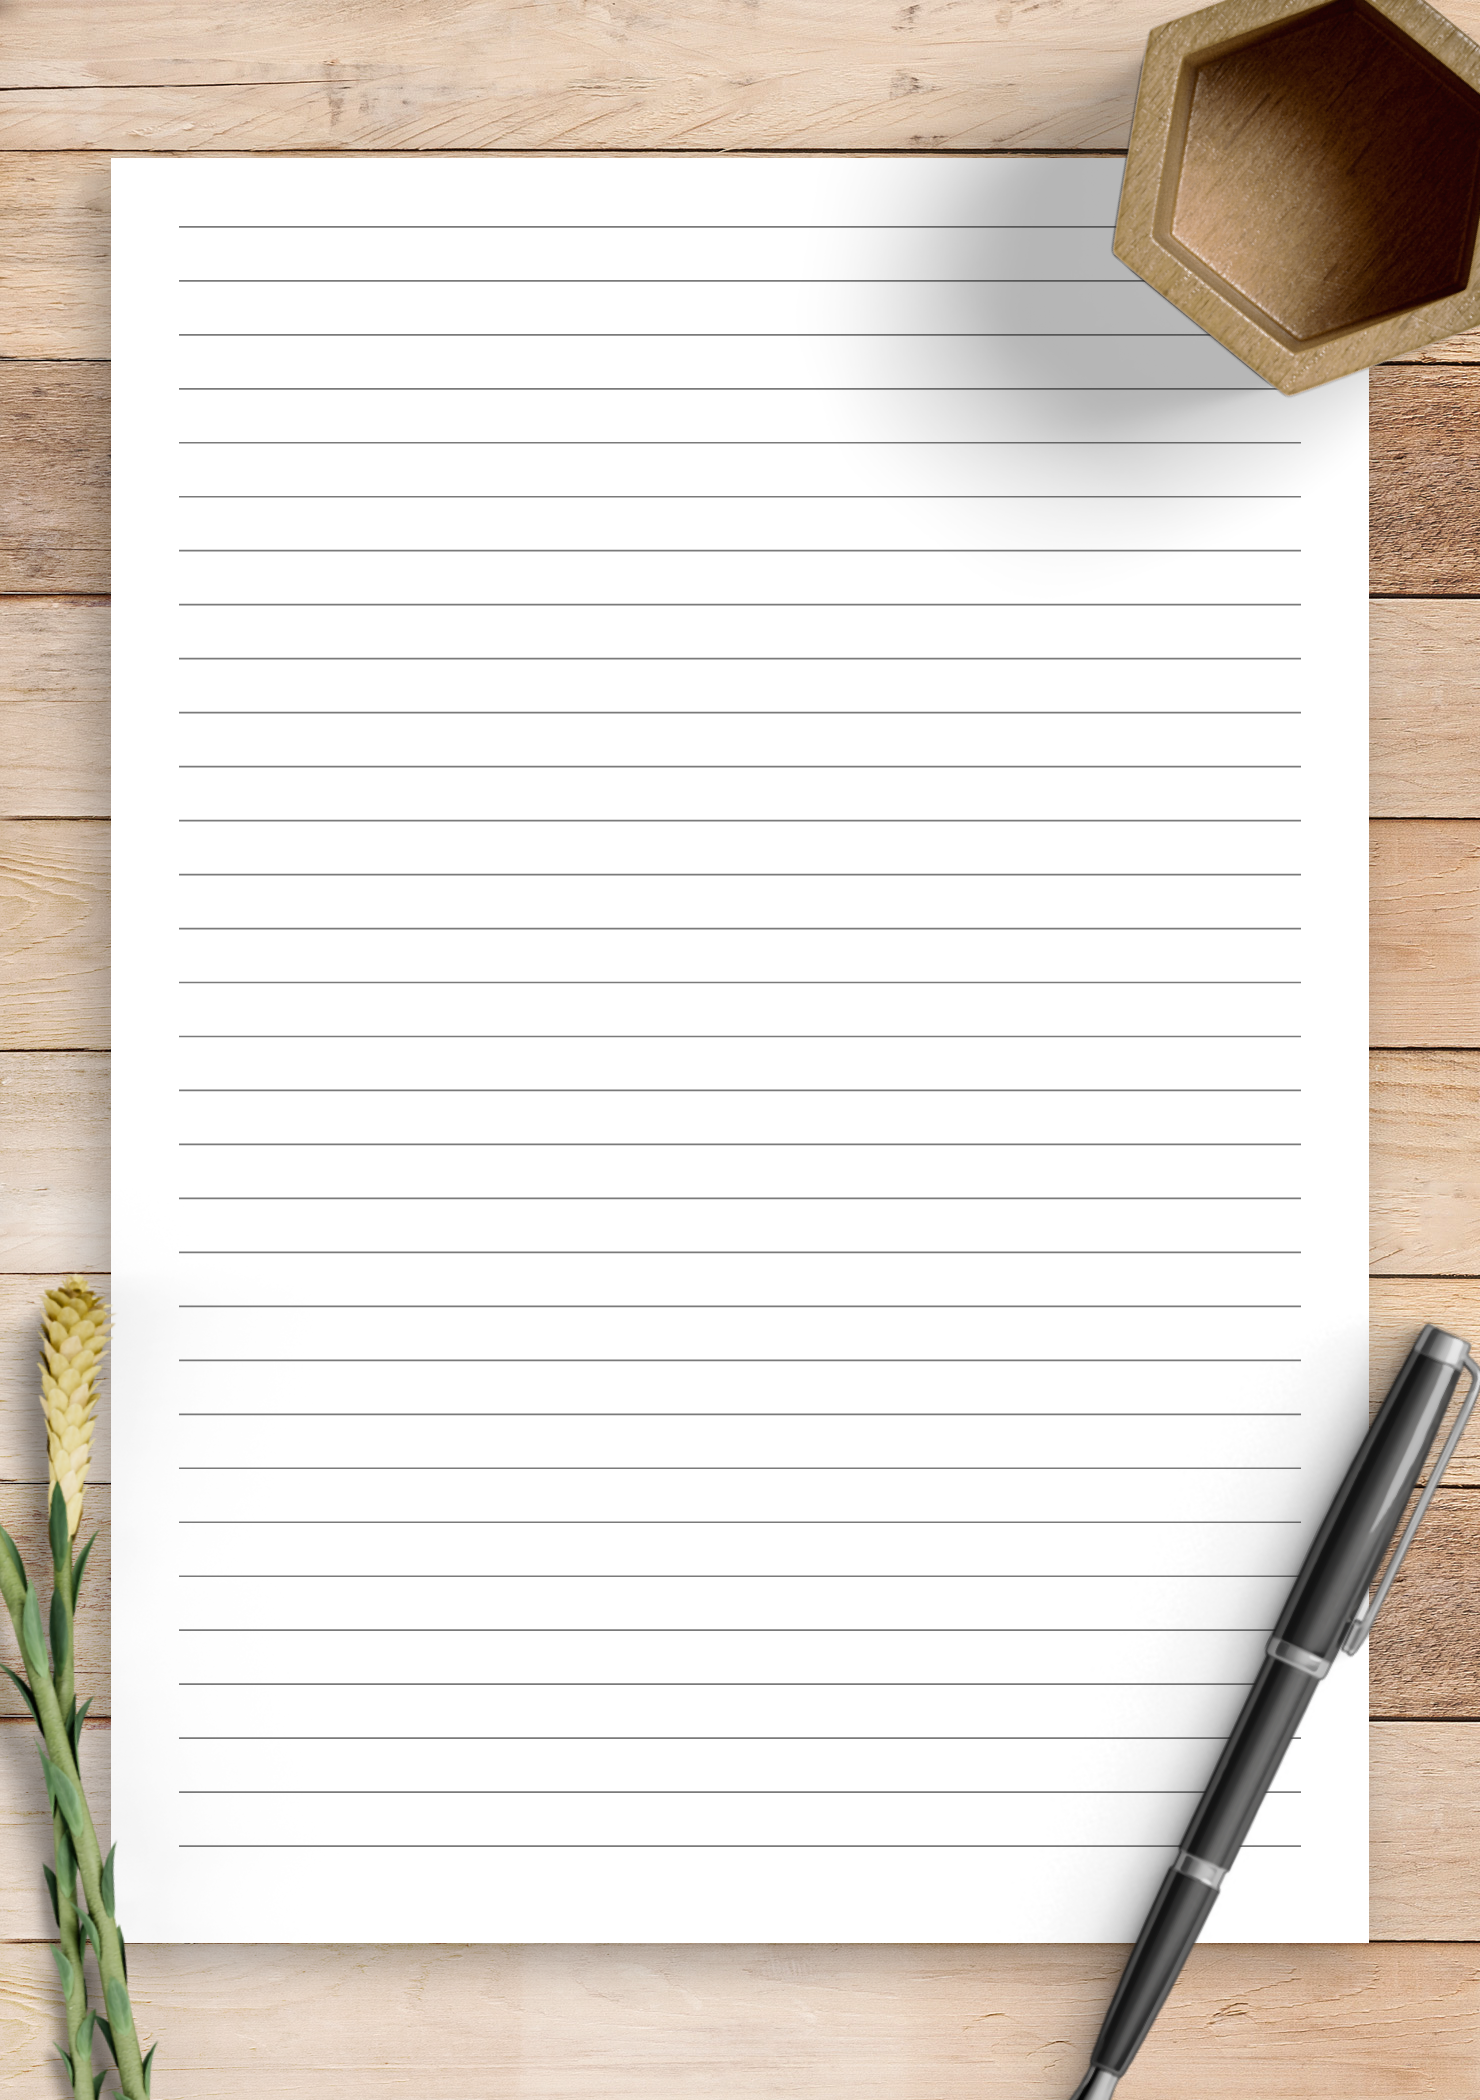
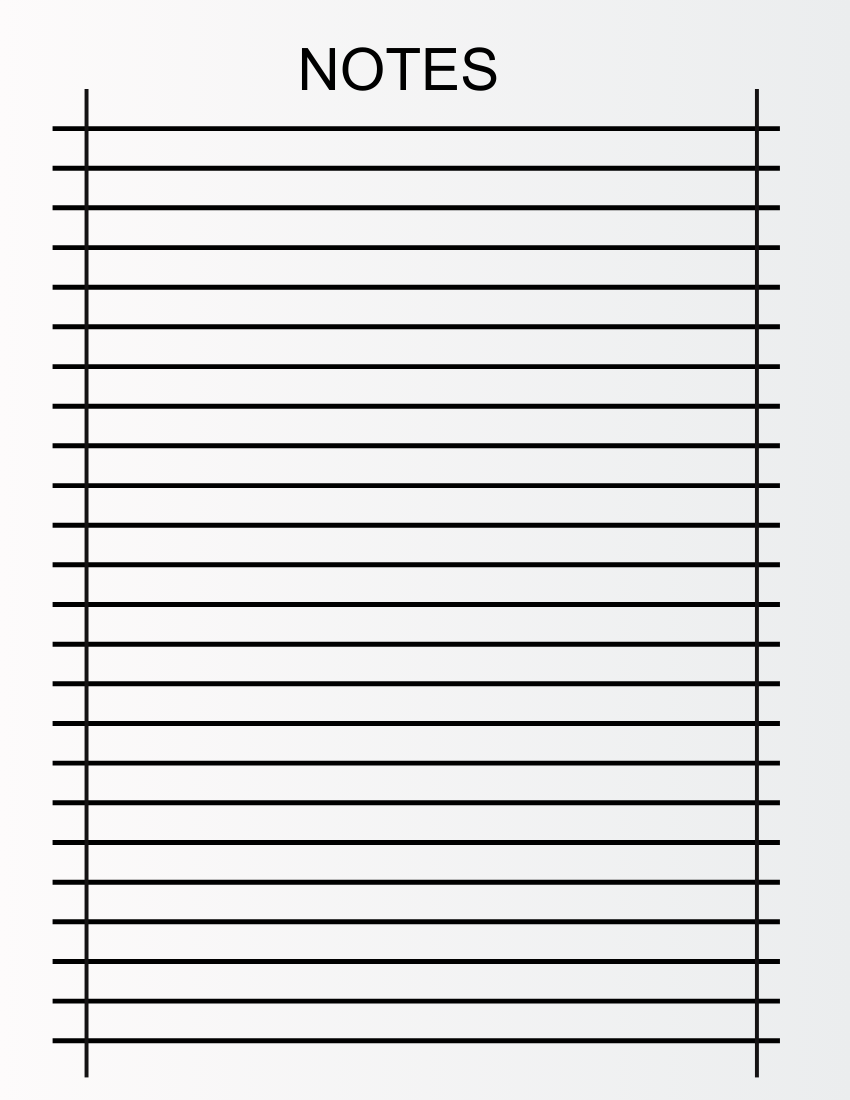
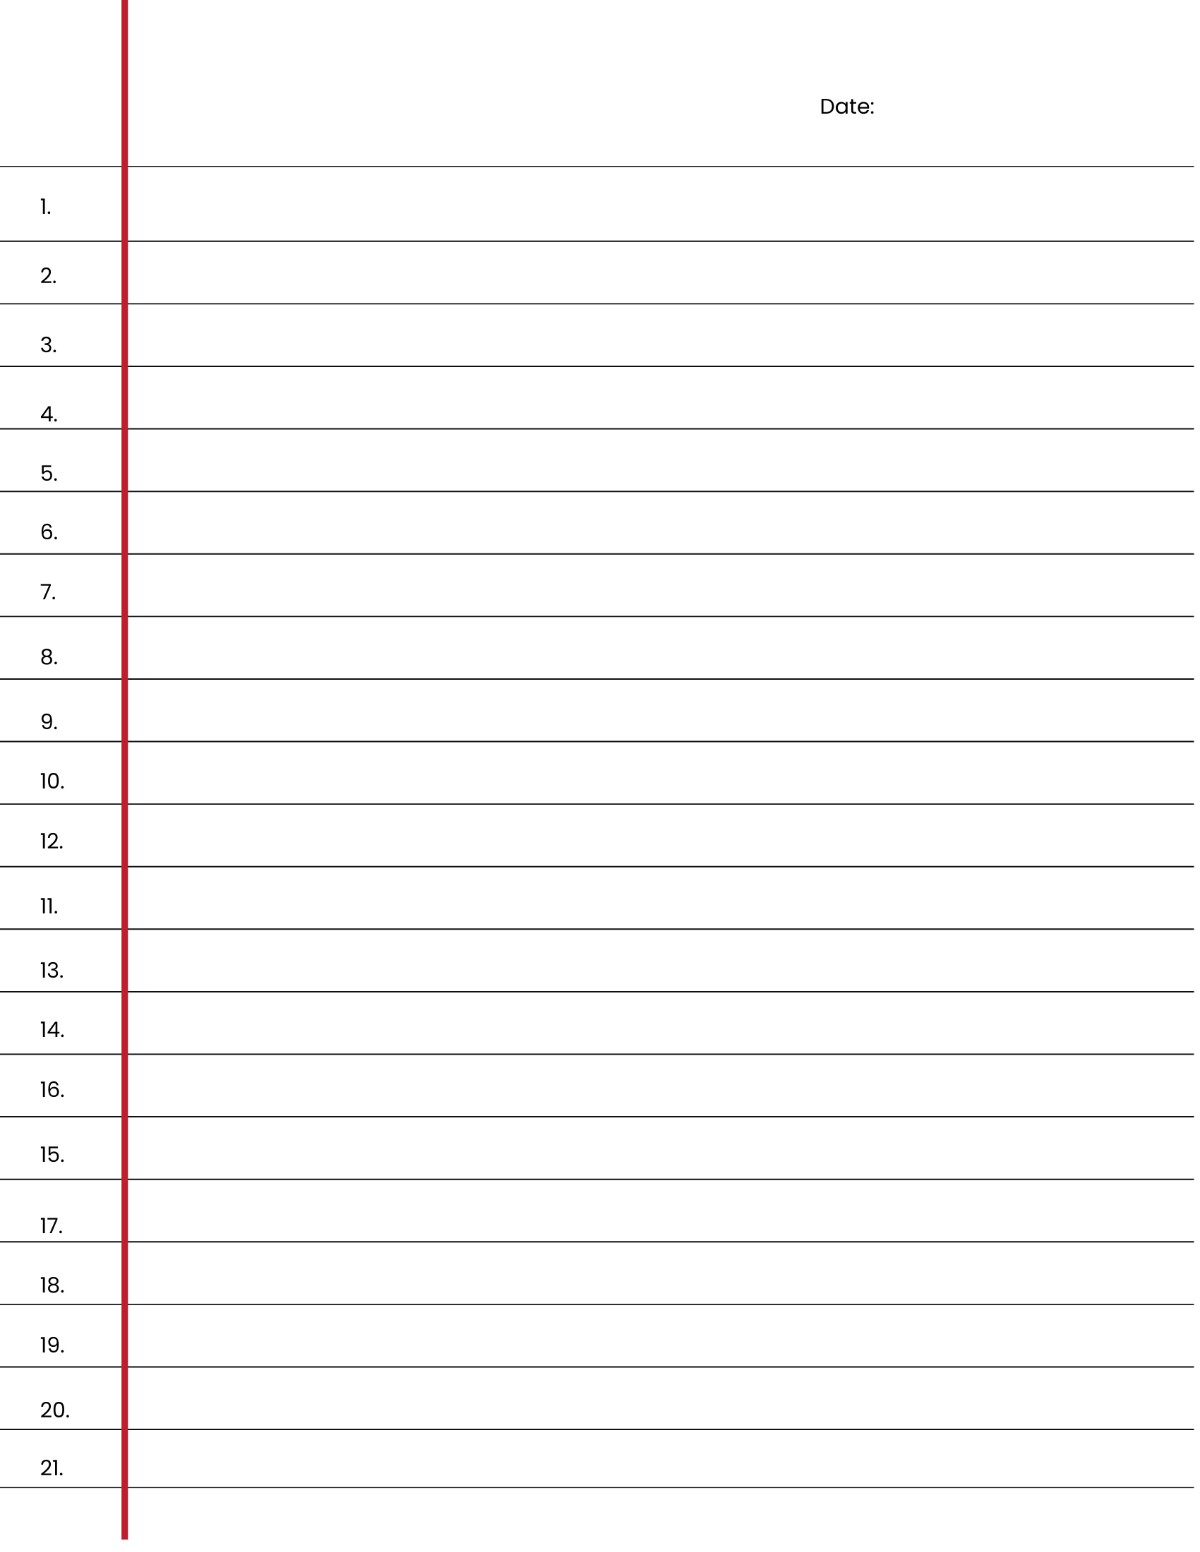
A Ruled Paper Word Template is a pre-designed Microsoft Word document that features horizontal lines across the page, mimicking traditional notebook or loose-leaf paper. These templates are formatted to provide a consistent visual guide for writing, whether the document is intended for printing and handwriting or for direct typing within Word. The lines typically extend from left to right margins, often with a vertical margin line on the left, replicating the classic composition notebook or college-ruled paper style.

The primary purpose of such a template is to offer a structured environment for text. Without a template, a user would need to manually insert lines using drawing tools, tables, or complex paragraph formatting, which is both tedious and prone to inconsistencies. A template, however, bypasses these steps, offering an instant solution that is ready for immediate use. It’s essentially a digital form of stationery, pre-configured to save time and ensure a professional, uniform appearance.
These templates come in various styles, catering to different needs. Common variations include:
* Wide-ruled: Features larger spacing between lines, ideal for younger writers, those with larger handwriting, or for brainstorming sessions where more space is needed per line.
* College-ruled: Offers smaller line spacing, suitable for students and professionals who need to fit more text on a page for detailed notes or essays.
* Legal-ruled: Often includes a vertical line on both the left and right margins, commonly used in legal pads for taking notes or drafting legal documents.
* Graph/Grid paper: While not strictly "ruled," many templates also include variations with a grid pattern, useful for math, drawing, or planning.
The availability of these templates, either built into Word or easily downloadable from various online sources, underscores their utility and widespread demand. They provide a practical bridge between the digital world of word processing and the tactile experience of writing on lined paper, ensuring that the benefits of structured writing are accessible to everyone.
Why Utilize a Ruled Paper Word Template?
The decision to use a Ruled Paper Word Template stems from several practical and aesthetic advantages that it offers over a blank document or even physical paper in certain contexts. Understanding these benefits can help users maximize the potential of this simple yet powerful tool.
Enhanced Organization and Readability
The most immediate benefit of ruled paper, whether digital or physical, is the structure it imparts to written content. Lines act as visual guides, promoting consistent handwriting or typing alignment. For printed documents intended for handwritten notes, this means neater, more legible results. For typed documents, especially those with minimal formatting, the lines can subtly break up dense text, making it less intimidating and easier to read, particularly for drafts or casual documents. This organized presentation contributes significantly to both the writer's and reader's experience.
Time-Saving and Efficiency
Creating perfectly spaced and aligned lines in a standard Word document from scratch is a surprisingly complex and time-consuming task. It involves manipulating paragraph borders, using tables, or inserting individual shapes – all of which require precision and can be frustrating. A pre-designed template eliminates this effort entirely. Users can simply open the template and begin typing or printing, saving valuable time and allowing them to focus on the content rather than the formatting. This efficiency is invaluable for busy students, educators, and professionals.
Consistency Across Documents
Using a standardized Ruled Paper Word Template ensures a uniform look across multiple documents. If you're compiling a portfolio of handwritten notes, creating a series of practice sheets, or even designing a custom notebook, a template guarantees that every page will have the same line spacing, margin settings, and overall aesthetic. This consistency not only looks professional but also helps in maintaining a coherent brand or personal style across all your written materials.
Versatility in Application
The applications for ruled paper templates are incredibly diverse. Students can use them for essay outlines, math practice, or daily journaling. Teachers can create custom worksheets or handwriting practice sheets. Professionals might find them useful for brainstorming sessions, meeting minutes, or client interviews where a structured note-taking format is preferred. Creative writers, poets, and calligraphers can use them as digital canvas for drafts before committing to physical paper. The adaptability of these templates makes them suitable for virtually any scenario where lined paper is beneficial.
Cost-Effectiveness and Accessibility
In an era where sustainability and cost-saving are increasingly important, using digital templates reduces the reliance on purchasing physical ruled paper pads. Once downloaded or created, a template can be used infinitely, saving money and minimizing paper waste when only digital documents are required. For those who still prefer to print, it allows them to print exactly what they need, when they need it, from the convenience of their home or office, without having to stock various types of paper. This accessibility means quality lined paper is just a few clicks away.
Finding and Downloading a Ruled Paper Word Template
Acquiring a Ruled Paper Word Template is typically a straightforward process, thanks to the widespread availability of these resources. Users have several reliable avenues for finding and downloading templates that suit their specific needs, ranging from built-in Word features to various online repositories.
Microsoft Word's Built-in Template Gallery
One of the easiest places to start is within Microsoft Word itself. Microsoft often includes a selection of basic ruled paper templates directly accessible through the "New" document option.
1. Open Microsoft Word.
2. Go to File > New.
3. In the search bar, type "ruled paper," "lined paper," or "notebook paper."
4. Browse the results. Word typically offers a few variations like wide-ruled, college-ruled, or even specialized stationery.
5. Select the desired template and click "Create" or "Download."
These built-in options are generally reliable and designed to integrate seamlessly with Word's features.
Official Microsoft Office Template Website
Microsoft also maintains a comprehensive online library of templates at templates.office.com. This website offers a broader selection than what might be pre-loaded into your Word application.
1. Visit templates.office.com.
2. Use the search bar to look for "ruled paper," "lined paper," or "notebook paper."
3. Filter results by application (Word).
4. Download the template directly to your computer. These templates are typically provided in .dotx or .docx format.
Third-Party Template Websites
Numerous websites specialize in providing free or premium Word templates. These sites often feature a more diverse range of designs, including aesthetic variations, different line colors, and unique margin styles. Popular choices include:
* Template.net
* Vertex42.com
* Pinterest/Etsy (for more design-focused or unique templates)
* Educational resource sites (e.g., Teachers Pay Teachers for specific school-related ruled paper)
When downloading from third-party sites, always ensure you are on a reputable website to avoid malware. Look for secure connections (HTTPS), read reviews if available, and scan downloaded files with antivirus software as a best practice.
Searching with a Web Search Engine
A simple search on Google or your preferred search engine for "free ruled paper Word template" or "lined paper template for Word" will yield a wealth of results. Be specific in your search if you have a particular style in mind (e.g., "wide ruled Word template free").
When you find a template you like, usually you can click a "Download" button. The file will typically be a .docx (Word Document) or .dotx (Word Template) file. If it's a .dotx file, it will open as a new document based on the template, leaving the original template file untouched. If it's a .docx file, you can save a copy of it and then use that copy as your template, or "Save As" a Word Template (.dotx) to easily reuse it.
By exploring these options, users can quickly find and implement a Ruled Paper Word Template that perfectly fits their organizational and creative needs.
Creating Your Own Ruled Paper Word Template from Scratch
While numerous pre-made templates are available, sometimes the best solution is to create a custom Ruled Paper Word Template that precisely matches your specifications. This process allows for complete control over line spacing, color, margins, and any other design elements. Here’s a step-by-step guide to building your own:
Step 1: Open a New Blank Document
Start by launching Microsoft Word and opening a completely blank document. This provides a clean canvas for your template.
Step 2: Set Page Margins
Before adding lines, define your page margins.
1. Go to the Layout tab on the Word ribbon.
2. Click Margins and choose a pre-set option (e.g., Normal, Narrow) or select Custom Margins to input specific values. For a traditional notebook look, consider setting top, bottom, left, and right margins to around 0.5 to 1 inch.
Step 3: Insert Lines Using a Table (Recommended Method)
Using a table is the most effective and easiest way to create perfectly aligned horizontal lines.
1. Go to the Insert tab.
2. Click Table and select Insert Table.
3. In the dialog box:
* Set Number of columns to 1.
* Set Number of rows to a high number, like 50-60, to fill the page, or simply 1 and add more later. (It's easier to create one row and copy it.)
* Click OK.
Step 4: Adjust Row Height for Line Spacing
This is where you define whether your paper will be wide-ruled or college-ruled.
1. Select the entire table (click the small cross icon at the top-left of the table).
2. Right-click the selected table and choose Table Properties.
3. Go to the Row tab.
4. Check Specify height and input a value.
* For college-ruled, try 0.25" or 0.27".
* For wide-ruled, try 0.35" or 0.4"
* Ensure Row height is: is set to Exactly.
5. Click OK.
Step 5: Format Table Borders
Now, turn the table rows into visible lines.
1. Select the entire table again.
2. Go to the Table Design tab (this appears when the table is selected).
3. Click on Borders in the Borders group.
4. Choose No Border first to remove all existing borders.
5. Click Borders again and select Inside Horizontal Border. This will leave only the horizontal lines.
6. (Optional) To change line color or thickness:
* Click Borders and select Borders and Shading.
* In the dialog, go to the Borders tab.
* Under Apply to: choose Table.
* Select Color (e.g., light gray, blue) and Width (e.g., 0.5 pt, 0.75 pt) for your horizontal lines.
* Make sure Inside Horizontal is selected in the preview box. Click OK.
Step 6: Add a Vertical Margin Line (Optional)
For a traditional notebook look, add a vertical margin.
1. Go to the Insert tab.
2. Click Shapes and choose Line.
3. Draw a vertical line down the left side of the page, from the top margin to the bottom margin. Hold Shift while drawing to ensure it's perfectly straight.
4. (Optional) Format the line:
* Select the line.
* Go to Shape Format tab.
* Click Shape Outline to change color (e.g., red, blue) or thickness.
* Click Weight to adjust thickness.
5. To position it precisely:
* Select the line.
* Go to Shape Format > Align. Use options like Align Left and then More Layout Options to fine-tune its exact position relative to the page or margin.
Step 7: Save as a Word Template
Once your ruled paper looks perfect, save it as a template for easy reuse.
1. Go to File > Save As.
2. Choose a location (e.g., Documents > Custom Office Templates).
3. In the Save as type: dropdown, select Word Template (*.dotx).
4. Give your template a descriptive name (e.g., "My Custom Ruled Paper Word Template").
5. Click Save.
Now, whenever you want to use your custom ruled paper, simply go to File > New and select "Personal" or "Custom" to find your saved template. This method provides endless possibilities for personalized digital stationery.
Customizing Your Ruled Paper Word Template
Once you have a basic Ruled Paper Word Template, whether downloaded or created from scratch, you might want to customize it further to fit specific needs or personal preferences. Customization allows you to tailor the template's appearance and functionality, making it truly your own.
Adjusting Line Spacing
The most common customization is modifying the line spacing. This directly impacts whether the paper is wide-ruled, college-ruled, or something in between.
* For Table-Based Templates: Select the entire table (click the small cross icon at the top-left corner), right-click, choose Table Properties, go to the Row tab, and adjust the Specify height value. Smaller values mean closer lines (college-ruled), larger values mean wider lines (wide-ruled). Remember to set Row height is: to Exactly.
* For Paragraph Border Templates (less common but possible): Select all paragraphs that have lines. Go to Home > Paragraph Settings (the small arrow in the Paragraph group). Adjust Line spacing (e.g., Single, 1.5 lines, Double) or At least with a specific pt value. Also, check Before and After spacing in the same dialog box.
Changing Line Color and Thickness
The default black or gray lines can be altered to add a personal touch or to make the lines less prominent.
* For Table Borders: Select the table. Go to Table Design > Borders > Borders and Shading. In the dialog box, you can change the Color and Width for the horizontal Inside borders. Light blue, light gray, or even a subtle pastel color can give your paper a distinct look.
* For Inserted Shapes (vertical margin lines): Select the line. Go to Shape Format > Shape Outline to change its Color and Weight (thickness). A classic red margin line is a popular choice.
Modifying Margins
Adjusting the page margins can impact how much writing space you have and the overall balance of the page.
* Go to Layout > Margins. You can choose from pre-set options or Custom Margins to specify exact values for top, bottom, left, and right. Remember that if you have a vertical margin line, you might need to reposition it after changing the left margin.
Adding Headers and Footers
Headers and footers are useful for including consistent information on every page, such as page numbers, dates, titles, or even subtle branding.
* Go to Insert > Header or Insert > Footer. Choose a style or Edit Header/Footer to add your custom text or images. You can also specify different first page or odd/even page headers/footers.
Incorporating Background Elements or Watermarks
For a more unique template, you might consider adding a faint background image or a watermark.
* Watermark: Go to Design > Watermark. You can choose from pre-set options like "Confidential" or "Draft," or select Custom Watermark to add your own text or a picture (e.g., a company logo, a personal emblem) that appears faded behind the lines.
* Background Image: This is more complex and might interfere with readability. If attempting, use a very light, transparent image and insert it Behind Text via Picture Format > Wrap Text options.
Saving Your Customized Template
After making all your desired changes, always save your document as a Word Template (.dotx) so you can easily create new documents based on your personalized design without altering the original.
1. Go to File > Save As.
2. In the Save as type: dropdown, select Word Template (*.dotx).
3. Give it a unique name (e.g., "My Blue College Ruled Template").
4. Click Save.
By mastering these customization techniques, you can transform a basic Ruled Paper Word Template into a versatile and aesthetically pleasing tool perfectly tailored to your individual workflow and creative expression.
Practical Applications of a Ruled Paper Word Template
The utility of a Ruled Paper Word Template extends across a multitude of fields and personal endeavors, proving its value in both academic and professional settings, as well as for creative and organizational tasks. Its structured format makes it ideal for situations requiring neatness, clarity, and guidance for writing.
Educational Uses
For students of all ages, ruled paper templates are indispensable.
* Handwriting Practice: Young learners benefit immensely from wide-ruled templates to practice penmanship, letter formation, and maintaining consistent size.
* Note-Taking: College-ruled templates are perfect for students taking notes in lectures, summarizing readings, or outlining essays, helping them keep information organized and legible.
* Worksheets and Assignments: Teachers can use templates to create custom worksheets for various subjects, ensuring students have a structured space to write answers, solve math problems, or draft short responses.
* Exam Preparation: Students can print ruled paper for mock exams or practice questions, simulating exam conditions and fostering organized responses.
Professional and Business Uses
Professionals also find numerous applications for these templates, particularly in situations where quick, structured notes are required.
* Meeting Minutes: Template-based ruled paper provides a clear format for quickly jotting down key discussion points, action items, and attendees during meetings.
* Brainstorming Sessions: The lines can help organize thoughts, create lists, or map out ideas during creative or problem-solving sessions.
* Client Interviews/Consultations: Taking notes on ruled paper during client interactions ensures that details are captured systematically and can be easily referred back to.
* Drafting Documents: For initial drafts of reports, proposals, or presentations, some professionals prefer the linear structure of ruled paper to organize their thoughts before typing the final version.
Personal and Creative Endeavors
Beyond formal settings, ruled paper templates cater to a variety of personal and creative needs.
* Journaling and Diary Keeping: Many prefer the classic feel of writing in a lined journal, and these templates allow for digital journaling with a traditional aesthetic or for printing out custom journal pages.
* Letter Writing: For those who still enjoy sending handwritten letters, printing out a ruled template provides a professional and neat appearance for their correspondence.
* Poetry and Creative Writing: Lines can provide a subtle guide for poetic verse or help structure initial story ideas, keeping thoughts aligned and readable.
* Budgeting and Planning: Simple ruled paper can be transformed into basic budget trackers, to-do lists, or daily planners, especially when combined with custom margin lines or columns.
* Calligraphy and Lettering Practice: Print multiple copies for practicing different scripts and letter styles, ensuring consistency in line height and baseline adherence.
Organizational and Logistical Tasks
Even for mundane tasks, the structured nature of ruled paper can be beneficial.
* Inventory Lists: Creating lists of items, supplies, or possessions.
* Checklists: Developing detailed task lists or grocery lists.
* Data Collection (Manual): For field research or situations where digital input isn't feasible, printed ruled paper provides a standardized form for collecting information.
The enduring appeal of a Ruled Paper Word Template lies in its ability to bring order and clarity to both written and digital content, making it an incredibly versatile asset for anyone needing a structured writing surface.
Tips for Using and Printing Ruled Paper Templates Effectively
Leveraging a Ruled Paper Word Template to its fullest potential involves more than just downloading or creating it. Effective use and intelligent printing can significantly enhance your experience and the quality of your output.
Using the Template Digitally
Even if your ultimate goal is a printed document, you can utilize the template within Word itself for certain tasks.
* Type Directly: Simply open the template and start typing. The lines won't physically disappear as you type, but they provide a background guide, especially useful for visual learners or for drafts where a structured feel is preferred.
* Adjust Line Color for Readability: If you find the lines distracting while typing, consider customizing the template to use a very light gray or a faint pastel color for the lines. This makes the typed text stand out more clearly.
* Save as PDF: For sharing or archiving, save your document with typed content as a PDF. This locks the formatting, ensuring it looks consistent across different devices and doesn't get accidentally altered.
Printing Considerations
When printing your ruled paper template, a few tips can help you achieve the best results.
* Test Print: Before printing a large batch, always print a single page to check line spacing, color, and margin alignment. Make any necessary adjustments in the template before a full print run.
* Paper Type: For the best writing experience, use good quality printer paper. Standard copier paper (70-80 gsm) works well for everyday notes, but for journaling or calligraphy, a slightly heavier paper (90-120 gsm) can prevent ink bleed-through.
* Print Quality Settings: In your printer settings, you might have options for print quality (e.g., Draft, Normal, Best). For simple ruled lines, "Normal" or even "Draft" quality is often sufficient, saving ink. If lines appear faint or jagged, increase the quality setting.
* Color vs. Grayscale: If your template lines are colored (e.g., blue or red), print in color if you want those hues to show. If you're fine with black or gray lines, printing in grayscale can save on color ink.
* Double-Sided Printing: If your printer supports it, printing double-sided can save paper. Ensure that the lines on the back align properly with the lines on the front if exact alignment is important for your use case.
* Batch Printing: For creating your own notebooks or pads, print all necessary pages at once. Organize them, and then you can bind them using various methods (stapling, coil binding, hole punching for a binder).
Template Management
Proper management of your templates ensures easy access and avoids clutter.
* Organize Your Templates: Create a dedicated folder for your custom Word templates. This makes it easy to find them later.
* Descriptive Naming: Name your templates clearly (e.g., "College Ruled Blue Lines Template," "Wide Ruled with Red Margin").
* Create Template Shortcuts: If you frequently use a particular template, you can create a shortcut to the .dotx file on your desktop for quick access. Double-clicking a .dotx file will automatically open a new document based on that template.
* Regular Backups: Back up your custom templates along with your other important documents to prevent loss.
By following these tips, you can ensure that your Ruled Paper Word Template serves as an efficient, high-quality, and reliable tool for all your writing and organizational needs, whether on screen or on paper.
Conclusion
The Ruled Paper Word Template stands as a testament to the enduring utility of simple, effective design, seamlessly integrating the classic structure of lined paper with the power and flexibility of modern word processing. From the foundational act of taking notes to the intricate process of creative writing, these templates offer a digital canvas that promotes organization, clarity, and efficiency. They bridge the gap between digital convenience and the timeless appeal of a structured writing surface, proving invaluable for a diverse range of users.
We've explored the core concept of a ruled paper template, understanding its components and the various styles available. The compelling reasons to utilize such a template, including enhanced readability, significant time savings, and its sheer versatility across educational, professional, and personal spheres, underscore its widespread applicability. Furthermore, the practical guidance on finding and downloading pre-made templates, alongside a detailed, step-by-step guide to creating a custom template from scratch, empowers users to tailor their digital stationery precisely to their individual needs. The ability to customize line spacing, color, margins, and even add unique headers or watermarks ensures that the template can evolve with your requirements. Finally, by following effective tips for digital use and mindful printing, users can maximize the quality and impact of their ruled paper outputs.
In an increasingly digital world, the Ruled Paper Word Template remains a humble yet powerful tool. It simplifies tasks, fosters neatness, and provides a structured environment for thoughts to flourish, whether they are captured on a screen or meticulously penned onto paper. Its blend of tradition and technology makes it an essential asset for anyone seeking to bring order and aesthetic appeal to their written work.
0 Response to "Ruled Paper Word Template"
Posting Komentar